Ever wanted your hand movements to control a game? This project uses the Arduino Nano 33 BLE Sense with a Raspberry Pi to do just that! Don’t worry if you’re new to AI or hardware — this is beginner-friendly and super fun.
What You’ll Need
-
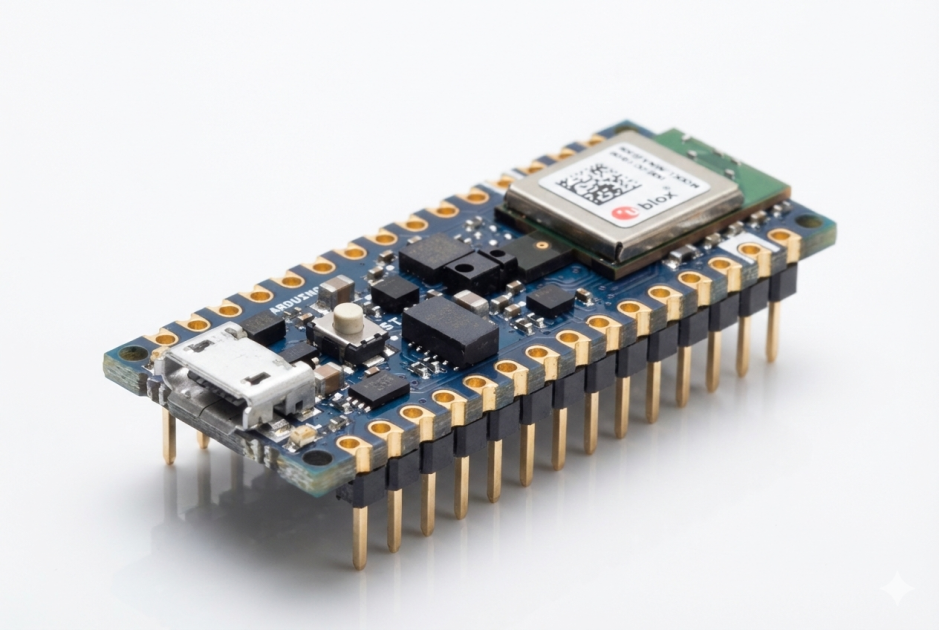
Arduino Nano 33 BLE Sense
-
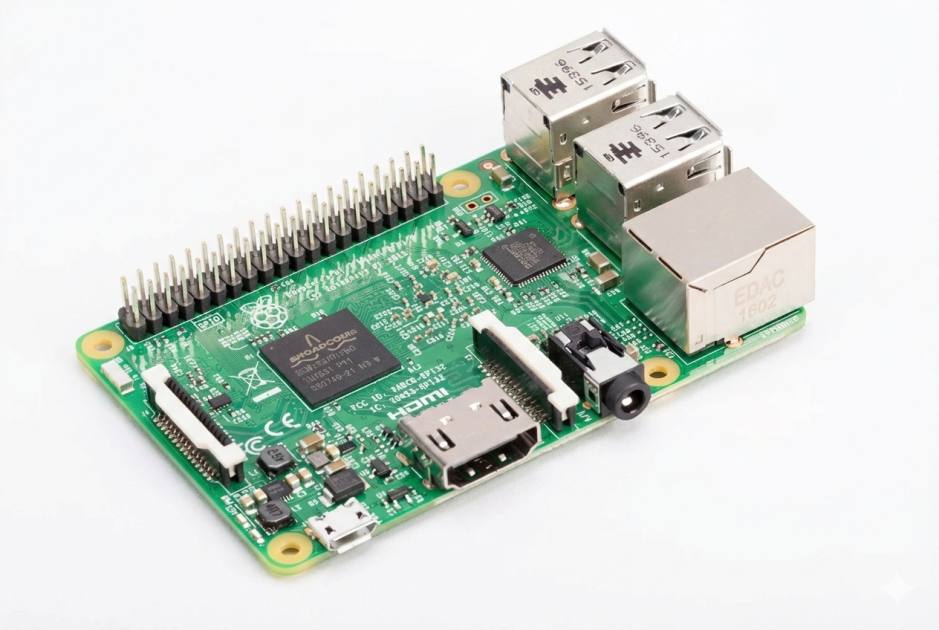
Raspberry Pi 3 (or any model that supports USB)
-
Micro-USB cable to connect Arduino to Raspberry Pi
Image 1 – Hardware Setup:
Your Arduino Nano connected to the Raspberry Pi and ready for data collection.
Step 1 — Collect Gesture Data
The Arduino uses its built-in motion sensors to record gestures. Typical gestures are:
-
Punching motion
-
Defending motion
-
Circular motion
Image 2 – Recording Gestures in CSV:
Sample output files showing recorded gesture data.
Step 2 — Train Your Tiny ML Model
Next, the data is loaded into Google Colab or any Python environment to train a neural network. The network learns to identify your gestures and outputs a model (model.h) that can be deployed to the Arduino.
Image 3 – Training the Neural Network:
Training the model using TensorFlow — the network learns which gesture corresponds to which movement.
Step 3 — Deploy Model on Arduino
After training, upload the model to the Arduino along with the sketch. The Arduino can now detect gestures in real time and assign an ID to each gesture.
Image 4 – Arduino Gesture Detection Code:
Code snippet for interpreting gestures and sending IDs via Serial to the Raspberry Pi.
Step 4 — Control a Game with Gestures
Finally, connect the Arduino to the Raspberry Pi via USB. Run a Python script on the Pi that reads the Arduino's serial output and maps gestures to game actions like attack or defend.
Image 5 – Sensor Output Rates:
Accelerometer and gyroscope readings that the Arduino uses to detect gestures.
Tips for Success
-
Record gestures consistently for better recognition.
-
More samples → more accurate predictions.
-
This project is perfect for understanding how TinyML works on small devices.


hello